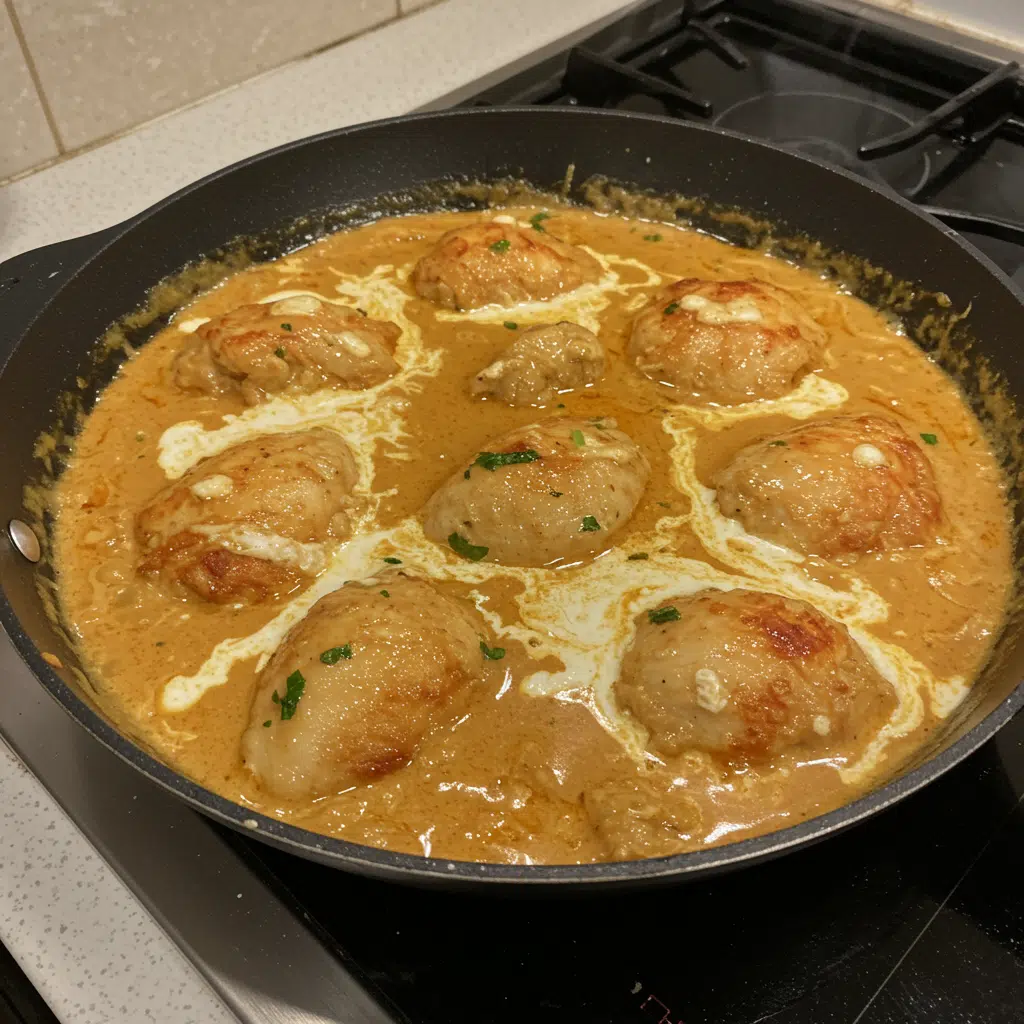
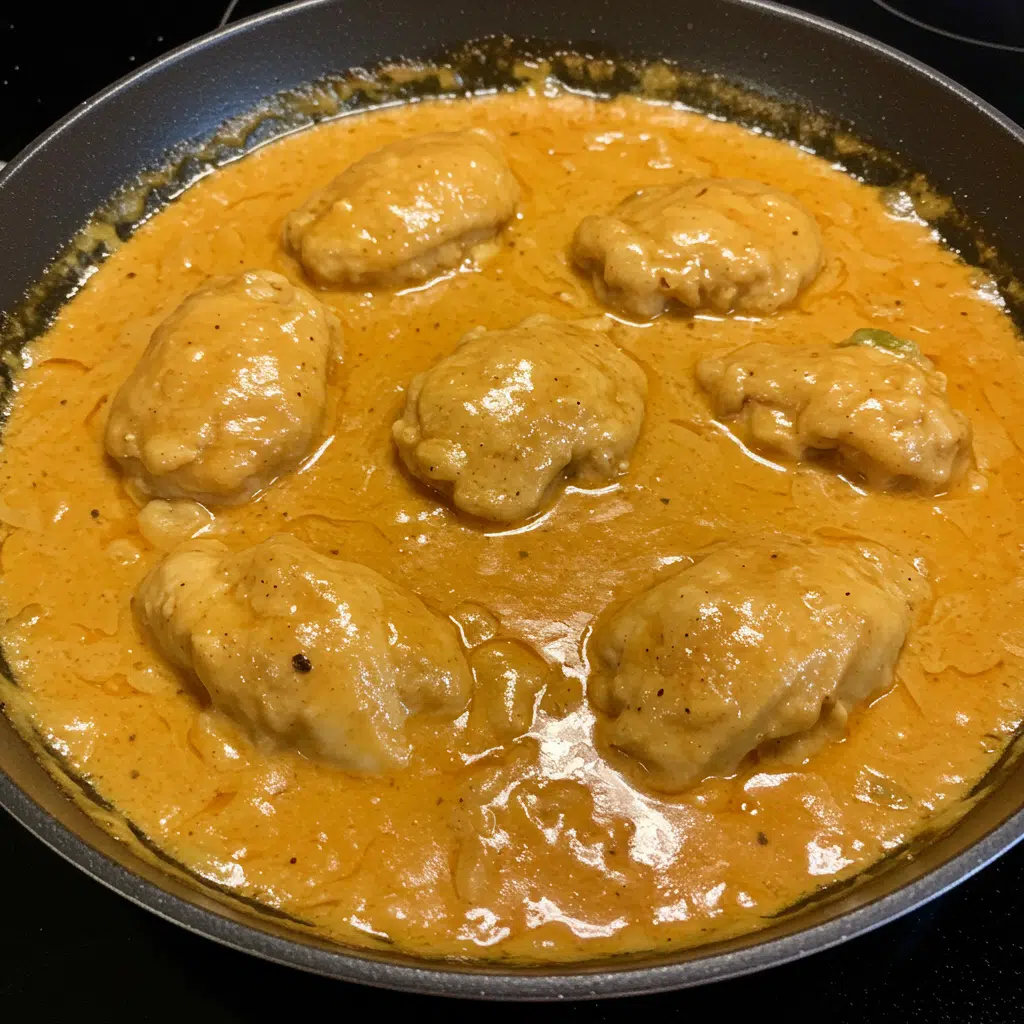
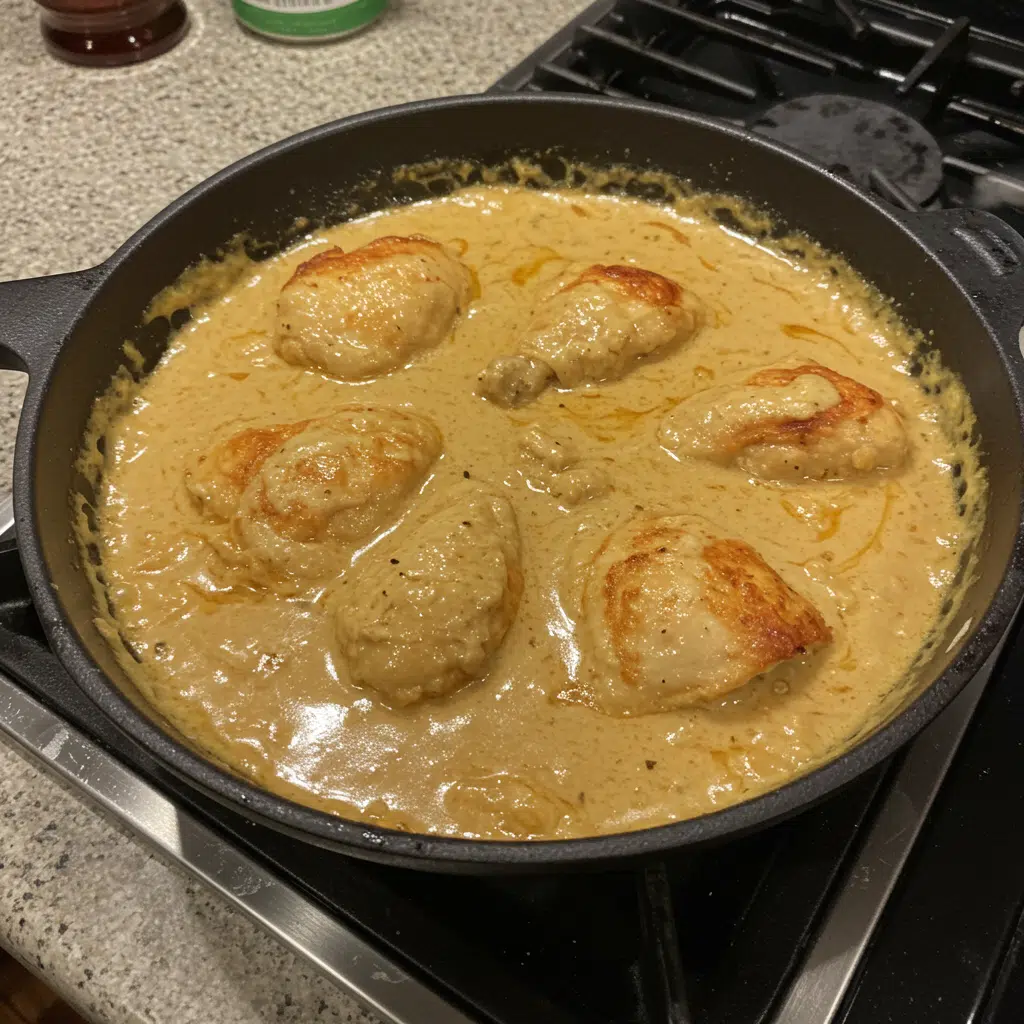
Texas Roadhouse Butter Chicken Skillet is pure comfort food magic that brings all those cozy restaurant vibes straight to your dinner table! This golden, buttery chicken with its sweet honey glaze tastes just like the steakhouse favorite we all crave. With simple pantry ingredients and one trusty skillet, you’ll have tender, juicy chicken swimming in the most irresistible butter-honey sauce that’ll have your family asking for seconds before they’ve finished their first bite.

Why You’ll Love This Recipe
- It tastes exactly like the restaurant – I’ve tested this three times trying to nail that Texas Roadhouse flavor
- Your kitchen will smell incredible while it cooks – my husband comes running when he smells this
- Takes 30 minutes start to finish which is perfect when soccer practice runs late
- Kids actually eat it without complaining about “weird stuff” in their food
- One pan cleanup because who has time for a sink full of dishes on a Tuesday night
Ingredients You’ll Need
For the Chicken:
- 4 boneless, skinless chicken breasts
- 2 tablespoons olive oil
- ½ teaspoon salt
- ½ teaspoon black pepper
- 1 teaspoon garlic powder
- 1 teaspoon smoked paprika (I buy the McCormick one – regular works but you’ll miss that smoky taste)
For the Butter Honey Sauce:
- ¼ cup unsalted butter, softened (leave it on the counter for about an hour)
- 2 teaspoons honey (or maple syrup if that’s what you have)

Texas Roadhouse Butter Chicken Skillet
- Total Time: 30 minutes
- Yield: 4 chicken breasts 1x
Description
This easy one-pan Texas Roadhouse copycat butter chicken skillet features perfectly seasoned chicken breasts in a rich honey butter sauce. Ready in just 30 minutes with simple ingredients, it’s the perfect weeknight comfort food that tastes just like the restaurant favorite.
Ingredients
For the Chicken:
- 4 boneless, skinless chicken breasts
- 2 tablespoons olive oil
- ½ teaspoon salt
- ½ teaspoon black pepper
- 1 teaspoon garlic powder
- 1 teaspoon smoked paprika (I buy the McCormick one – regular works but you’ll miss that smoky taste)
For the Butter Honey Sauce:
- ¼ cup unsalted butter, softened (leave it on the counter for about an hour)
- 2 teaspoons honey (or maple syrup if that’s what you have)
Instructions
Pat those chicken breasts completely dry with paper towels – this is important for getting a good sear. Season both sides with your salt, pepper, garlic powder, and smoked paprika. I usually let mine sit for about 10 minutes while I clean up my mess and get everything else ready.
Heat your olive oil in the skillet over medium-high heat until it shimmers. Add the chicken and don’t touch it for 5-6 minutes. I know it’s tempting to peek, but resist! You want that golden crust. Flip once and cook another 5-6 minutes until it hits 165°F. Take the chicken out and put it on a plate.
Pro Tip: My mom always told me “you cook with your ears” – when you hear that good sizzle, you know your pan is hot enough.
Don’t clean your pan! Add the butter and watch it melt, then stir in the honey. This is when I grab my wooden spoon and scrape up all the brown bits from the bottom – they taste like concentrated chicken goodness. Let it bubble for about a minute.
Put the chicken back in and spoon that butter sauce over each piece. Let everything simmer together for 5-7 minutes. The sauce will thicken up a bit and coat the chicken. This is also when I taste it and decide if it needs more salt or another drizzle of honey.
Pro Tip: I tilt my pan and use a spoon to baste the chicken with the sauce. Looks fancy, but it’s really just making sure every bite is perfect.
Give it a quick taste – you might want a little more salt or pepper. My kids like it sweeter, so sometimes I add an extra teaspoon of honey at the end.
Notes
Take your chicken out of the fridge 15 minutes before cooking so it cooks more evenly. I learned this from watching too many cooking shows, but it actually works. If your chicken breasts are huge like the ones from Costco, cut them in half lengthwise – nobody wants to bite into rubber chicken.
Keep your heat at medium-high, not blazing hot. I burned the outside of my chicken the first time I made this because I was impatient. For the fancy version, add a splash of heavy cream when you add the honey – makes it taste like something from a five-star restaurant. And here’s something my sister taught me – save some of that seasoning mix and sprinkle it on your vegetables too.
- Prep Time: 10 minutes
- Cook Time: 20 minutes
- Category: Main Dish
- Method: Pan-seared
- Cuisine: American
Nutrition
- Serving Size: 1 chicken breast with sauce
- Calories: 320
- Sugar: 3g
- Sodium: 380mg
- Fat: 18g
- Saturated Fat: 8g
- Unsaturated Fat: 9g
- Trans Fat: 0g
- Carbohydrates: 4g
- Fiber: 0g
- Protein: 35g
- Cholesterol: 110mg
Why These Ingredients Work
Here’s what I’ve learned after making this way too many times – each ingredient has a job. The chicken breasts stay tender when you don’t overcook them, and that smoked paprika gives you that steakhouse taste without actually grilling. I used regular paprika once when I ran out, and my husband immediately asked what was different.
The butter and honey combination is where the magic happens. When that butter melts with all the crispy bits stuck to your pan, then you add honey – it’s like chemistry class but way more delicious. The garlic powder blends in better than fresh garlic here, trust me on this one.
Essential Tools and Equipment
- My trusty 12-inch cast iron skillet (any large skillet works, but cast iron gets the best sear)
- Meat thermometer (learned this lesson after serving raw chicken once – never again)
- Tongs for flipping
- Small bowl for mixing up the seasonings
Step-by-Step Instructions
Step 1: Season the Chicken
Pat those chicken breasts completely dry with paper towels – this is important for getting a good sear. Season both sides with your salt, pepper, garlic powder, and smoked paprika. I usually let mine sit for about 10 minutes while I clean up my mess and get everything else ready.
Step 2: Get That Golden Sear
Heat your olive oil in the skillet over medium-high heat until it shimmers. Add the chicken and don’t touch it for 5-6 minutes. I know it’s tempting to peek, but resist! You want that golden crust. Flip once and cook another 5-6 minutes until it hits 165°F. Take the chicken out and put it on a plate.
Pro Tip: My mom always told me “you cook with your ears” – when you hear that good sizzle, you know your pan is hot enough.
Step 3: Make the Magic Sauce
Don’t clean your pan! Add the butter and watch it melt, then stir in the honey. This is when I grab my wooden spoon and scrape up all the brown bits from the bottom – they taste like concentrated chicken goodness. Let it bubble for about a minute.
Step 4: Bring It All Together
Put the chicken back in and spoon that butter sauce over each piece. Let everything simmer together for 5-7 minutes. The sauce will thicken up a bit and coat the chicken. This is also when I taste it and decide if it needs more salt or another drizzle of honey.
Pro Tip: I tilt my pan and use a spoon to baste the chicken with the sauce. Looks fancy, but it’s really just making sure every bite is perfect.
Step 5: Taste and Perfect
Give it a quick taste – you might want a little more salt or pepper. My kids like it sweeter, so sometimes I add an extra teaspoon of honey at the end.

You Must Know
The biggest mistake I see people make is moving the chicken around too much in the pan. Let it sit and develop that golden crust – it’s what separates okay chicken from restaurant-quality chicken. Also, don’t skip scraping up those brown bits when you make the sauce. They’re basically concentrated flavor sitting on the bottom of your pan.
Personal Secret: I pound my chicken breasts to about ¾ inch thick before I season them. Sounds weird, but it cooks so much more evenly. I put them between plastic wrap and use my rolling pin – works just as well as those fancy meat mallets.
Pro Tips & Cooking Hacks
Take your chicken out of the fridge 15 minutes before cooking so it cooks more evenly. I learned this from watching too many cooking shows, but it actually works. If your chicken breasts are huge like the ones from Costco, cut them in half lengthwise – nobody wants to bite into rubber chicken.
Keep your heat at medium-high, not blazing hot. I burned the outside of my chicken the first time I made this because I was impatient. For the fancy version, add a splash of heavy cream when you add the honey – makes it taste like something from a five-star restaurant. And here’s something my sister taught me – save some of that seasoning mix and sprinkle it on your vegetables too.
Flavor Variations & Suggestions
Chicken thighs work amazing in this recipe – they’re harder to overcook and stay so juicy. I actually prefer them now, but my husband still asks for breasts. If you want it creamy, add about ¼ cup heavy cream and some freshly grated Parmesan right at the end. Tastes incredible.
My teenage daughter likes spicy food, so sometimes I add a pinch of red pepper flakes to her portion. You can also swap the honey for maple syrup – different flavor but equally good. Fresh thyme or rosemary stirred in during the last minute makes it taste fancy enough for company. I’ve also made this with pork chops when chicken was expensive, and it worked perfectly.
Make-Ahead Options
You can season the chicken the night before and keep it in the fridge – actually makes it taste better. I do this every Sunday for our Monday dinners. The cooked dish doesn’t keep great because butter sauces get weird when they sit, but you can prep everything ahead and it cooks so fast anyway.
If you make too much, store it in the fridge for up to 3 days. Just don’t expect it to reheat perfectly – butter sauces are finicky like that.
What to Serve With Texas Roadhouse Butter Chicken Skillet
Mashed potatoes are perfect with this because they soak up all that honey butter sauce. I’ve also served it over rice when I was trying to be healthier, and it was still delicious. Steamed broccoli or green beans work great too – the sweetness of the chicken balances out the vegetables nicely.
Sometimes I just throw whatever vegetables I have in the fridge on the side. Asparagus, carrots, roasted Brussels sprouts – this chicken makes everything taste better. And if you have any leftover dinner rolls, definitely warm those up for sopping up the sauce. My kids fight over who gets to use their roll to clean their plate.
Allergy Information
This has butter so it’s not dairy-free. I’ve tried dairy-free butter substitutes for my lactose-intolerant sister, but honestly it just doesn’t taste the same. The recipe is naturally gluten-free though, which is great for my friend Sarah who has celiac.
If you’re avoiding sugar, you could try a sugar substitute instead of honey, but I haven’t tested it so I can’t promise how it’ll turn out.

Storage & Reheating
Leftovers go in the fridge for up to 3 days in whatever container you have. To reheat, I put it back in a skillet on low heat with a tiny splash of chicken broth. The microwave works but makes the sauce separate – not pretty but still tastes fine.
Don’t freeze this. I tried once and the sauce turned into a mess when I thawed it. Just make less next time if you’re worried about leftovers.
Emily’s Kitchen Secret: Never reheat this on high heat – I learned this the hard way when my butter sauce turned into an oily mess. Low heat and a splash of chicken broth brings it right back to life. Sometimes I think the leftovers taste even better because the flavors have had time to really get to know each other.
FAQs
Can I use chicken thighs instead of breasts?
Yes! I actually like thighs better now – they don’t dry out as easily. Just cook them a little longer, maybe 7-8 minutes per side instead of 5-6. They have more fat so they stay juicy even if you mess up the timing.
My sauce seems too thin – how do I fix it?
Let it cook longer to thicken up. Or add another small chunk of cold butter at the end and stir it in. That usually helps thicken butter sauces.
Can I make this dairy-free?
Technically yes with dairy-free butter, but it won’t taste like the restaurant version. I made it for my nephew’s birthday with Earth Balance and it was okay, just different.
What if I don’t have smoked paprika?
Use regular paprika – it’s fine, just not as interesting. I’ve also added a tiny bit of cumin when I was out of paprika and it worked.
How do I know when my chicken is done?
Get a meat thermometer – they’re like $5 at Walmart. 165°F and you’re good. The chicken will feel firm when you poke it, not squishy like raw chicken.
💬 Made this recipe? I’m dying to know how it turned out! Drop a comment below and tell me if your family loved it as much as mine does.

